[one_half][dropcap style=”font-size: 60px; color: #9b9b9b;”] T [/dropcap]alking about best camera settings for concert photography is not an easy task. The light changes all the time, people move, and contrary to studio photography it is not you who decide about how much light you use, where and when you use it. When it comes to camera settings for concert photography, there must be as many different points of view on camera settings as there are concert photographers. In this article I’ll show you what works for me. I’ll try to give you pointers so that can have a starting point and find what works for you. I am in no way trying to say that these are the only or best settings ever.
it is not you who decide about how much light you use, where and when you use it
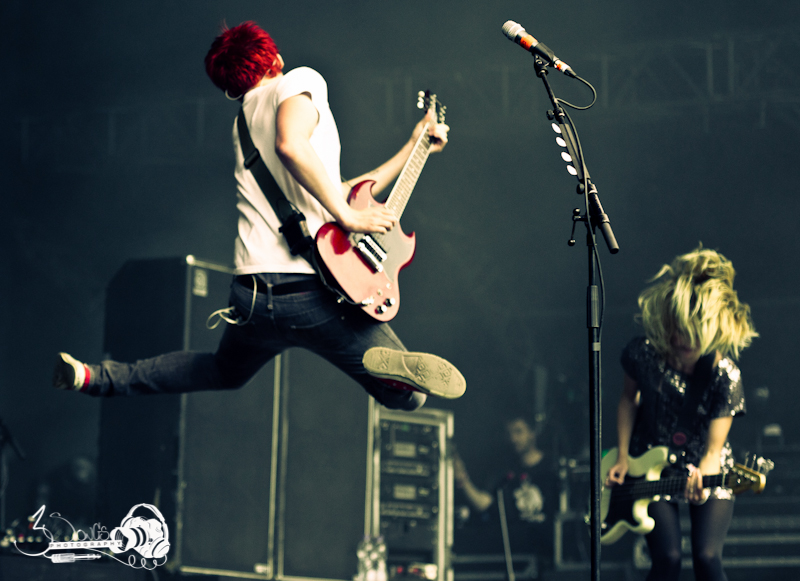
To be successful at photographing a live performance you need to be able to operate your camera blindly, and I mean that literally. Since using a flash light in the pit to change your ISO will usually be greeted with at least a frown from security and/or your fellow photographers, you need to be able to adjust the settings on your camera in the dark. See the picture here from Billy Lunn (The Subways), if I had to have a look at my camera to set the shutter speed I would have missed this shot.
When you only have three songs to capture the feeling of the concert, every single one of them has to count. The first thing I do before I leave the house is to reset my camera. That includes dialling in the settings of my camera in a way that I found out to be a nice starting point for most concerts or low light situations. It’s a comforting feeling to know that once I get to the venue my cameras are “ready to go”. I was dragged more than once backstage for a quick portrait session. Since my cameras are ready at all times, all I had to do was take a quick reading for correct exposure, dial down the ISO a bit and start shooting. No twiddling with settings, or cards to format, … get right down to business. Your subject will be impressed by how fast you delivered those high quality shots, and you might be asked to do this again given the speed and professionalism you showed right then and there. I’m repeating myself I know, but a lot in concert photography is about being ready to shoot at any given times and your reputation.
When you only have three songs to capture the feeling of the concert, every single one of them has to count
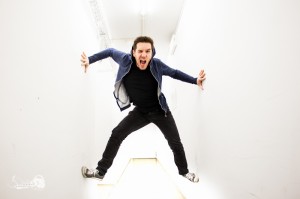
You might be thinking that something like that would never happen to you. So did I, and it took a painful experience for me before I made a mantra out of resetting my camera before a gig. I wish I could say this happened a long time ago but it didn’t …. I started shooting the first few frames of a gig, it was awesome, the lead singer came straight at me literally posing for some shots. I noticed that my shutter was not triggering anymore. When I checked the back of my camera, I was greeted with a small message on my camera: CF card full !!!! Lesson learned: Always reset the camera before the show.
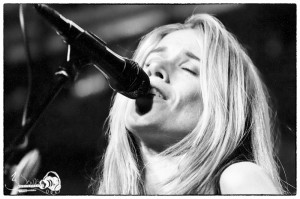
The way I set my camera before the concert is only a starting point. I like to start with ISO1600, a shutter speed of 1/160th and an aperture of F2.8. When I get onsite and get a feeling for what the light might be, I occasionally tweak them before the concert starts, when I see some pointers as to what the light might be. I have to admit though that I usually shoot one frame and check my LCD to see where I am in terms of exposure, I then adjust accordingly. I would typically start by adjusting the ISO value if possible, followed by the Shutter speed. Changing my aperture only happens when there is enough light for m to drop my ISO to below ISO 400. This leads me to something really important that I want to stress here.
Before you start dialling down your shutter speed, dial the ISO up
Use the ISO sensitivity of your camera to your advantage. Some people still think that changing the ISO settings should be avoided at all cost. People, …. we don’t need to change films anymore, it’s just one button to click and dial in the new setting. Before you start dialling down your shutter speed, dial the ISO up. To use this method to the maximum you will need to know how far you can push your camera in terms of ISO sensitivity. What I mean is that you will have to experiment the highest ISO setting you can choose with your camera that will result in an acceptable level of noise in your images. Speaking of noise, I used to use third party noise cancellation software for everything Noise related. That changed with the release of Adobe Lightroom 3. I found that the algorithm used by Lightroom combined with the ISO performances of the newer cameras to be a very effective combination. This allowed me to completely remove noise cancelling software from my workflow and thus decrease the post processing time needed for my concert pictures.
[/one_half]
[one_half_last]
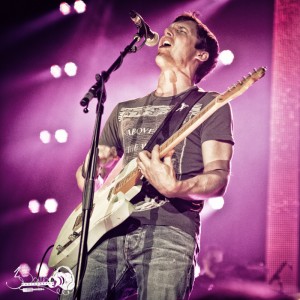
Talking about shooting modes is kind of a personal thing. When it comes to concert photography my cameras never leave the Manual Mode. The reason behind that is quite simple. Let’s say for arguments sake that you shoot a performer, he/she is standing on stage lit by one big bright spot. The rest of the stage is lit as well but many stops below the subject. If that difference is too big and if you shoot in a semi automatic mode you will let the camera calculate an average exposure based on what it “sees”. Usually in concert photography that’s not what you want. I for one would like to take that decision by myself, and thus not taking the risk of having a wonderfully exposed background but a white spot where the face was supposed to be.
When it comes to concert photography my cameras never leave the Manual Mode
My metering mode is always set to spot metering. I want to know the precise reading of a small area more than an average of a bigger one. It gives me a subtle creative leeway which would be impossible in any of the other two modes. I can work with the rest of the scene being a bit on the dark side of the meter, but not the subject. Basically I will always take my exposure reading from the face of one of the performers and work from there. Using any other metering mode will affect my reading in a way that could make me expose for other things in the frame and eventually loose the needed detail of what counts in the frame. A small tip in terms of exposure: I tend to slightly underexpose my pictures. I found out that it gives me a better quality for my post processing.
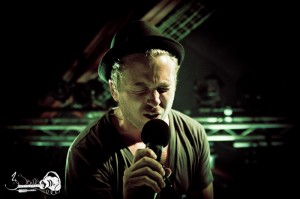
I am not talking about the white balance at all since I leave it on auto white balance for anything concert related. I like to keep things as simple as possible, especially in situations that need quick reactions. White balance issues can very quickly and effectively be addressed in Lightroom in the post processing phase of the workflow.
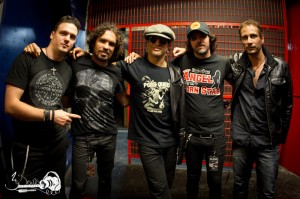
As mentioned before I shoot in RAW only, and if it is not the case yet I strongly recommend you to switch your DSLR to RAW and leave it there. Admittedly the files are bigger, but with the price of memory cards being as low as they are today, it doesn’t really matter. I use 8GB Sandisk only, it gives me space for approximately 300 pictures with 20MB files. That is more than enough for three songs.
I strongly recommend you to switch your DSLR to RAW
I also like to have one performance on one card and then change cards for the next one. The reason I stress this, is the amazing flexibility RAW files give me in post processing. I don’t have to worry about my white balance while taking pictures which in concert photography is a real time saver and it gives me a bit more room to play around with the exposure in post processing. If these are not enough there is another reason. Your camera will compress the file if set to JPG and thus impact the colour rendition of the file. I like to work on pictures that are as close as possible to what I saw when I took it in terms of colours. The fact is, .. there is no reason you should still be shooting anything else than in RAW.
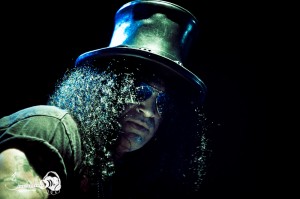
Always reset the camera before the show.[/one_half_last]

Leave a Reply